Common Storm Window Installation Mistakes & How to Avoid Them
Weatherization relies on micro-adjustments. Millimeters define the boundary between thermal efficiency and rot. Among retrofit projects, managing common storm window installation mistakes often catches people off guard. To a casual observer, mounting an extra glass pane over an existing window looks simple. It just takes alignment, fasteners, and sealant. However, this simplicity hides a complex reality involving vapor pressure, thermal bridging, and water drainage.
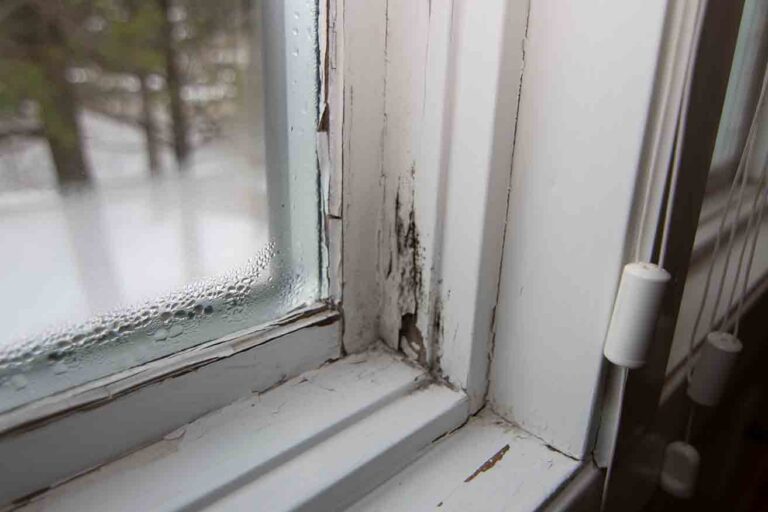
When installers mismanage these physical factors, problems go far beyond minor drafts. Moisture builds up inside the frame. It rots historic wood sills, rusts hidden screws, and feeds mold that harms indoor air quality. Fixing these issues means looking past basic guides. Installers must understand how mechanical anchors, sealants, and ventilation interact through changing seasons.
This guide breaks down common storm window installation mistakes. It explores mechanical, thermal, and moisture failures that ruin weatherization work. By examining structural foundations, measuring variances, and studying pressure dynamics, this framework helps you build durable, code-compliant, and efficient storm window assemblies.
Understanding Common Storm Window Installation Mistakes
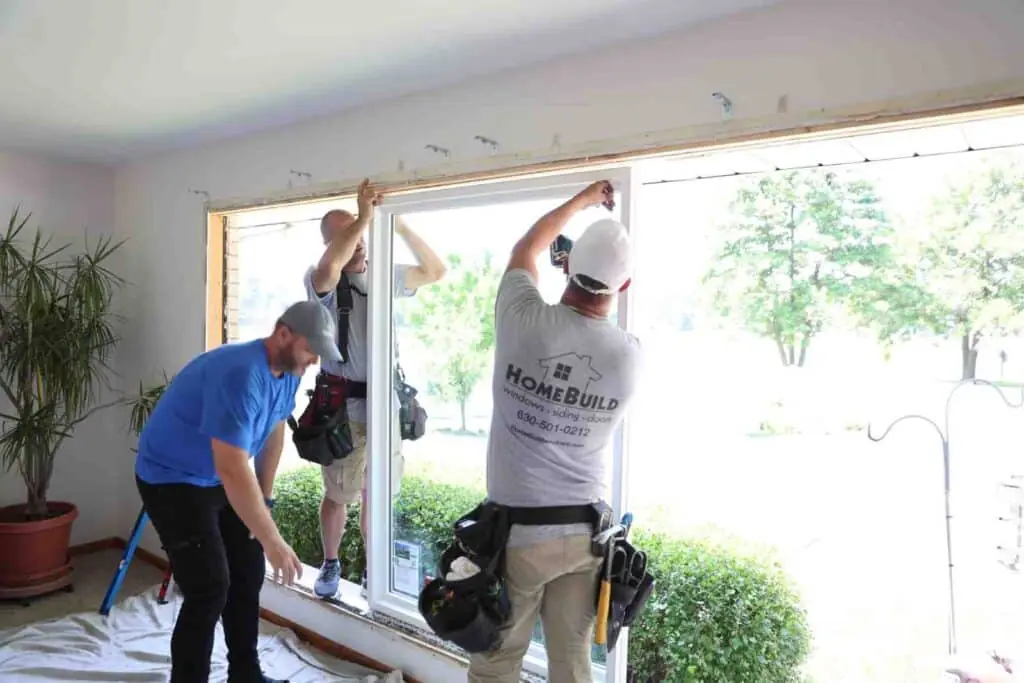
Investigating common storm window installation mistakes means studying how residential thermal envelopes react to secondary glazing. Many failures happen because people treat the building envelope like a static wall. In truth, houses breathe through air leaks and vapor diffusion. When you install a storm window over an existing window without planning for these pathways, you disrupt the building’s pressure balance and moisture routes.
A major analytical error is treating exterior storm windows as airtight units. Unlike factory-sealed double-pane glass filled with inert gas, exterior and interior storm windows are built on-site. They handle moisture vapor differently depending on where they sit relative to the primary window. Exterior storm windows need clear weep holes at the sill to drain rain and condensation. On the other hand, interior storm windows need a tight seal on the warm side. This stops indoor humidity from slipping past the primary sash and freezing or condensing on the cold glass.
People also get confused about how moisture moves. Installers often seal every edge of an exterior storm window tightly because they want maximum energy efficiency. Unfortunately, blocking all drainage and airflow traps moisture from minor leaks or indoor humidity inside the frame pocket. Without an escape route, this trapped water rots the wood framing. True mastery of storm window placement means balancing airtightness with controlled drainage. You cannot optimize thermal performance by sacrificing moisture durability.
Deep Contextual Background
The history of storm windows reflects the evolution of building science. Older homes relied on seasonal changes. Workers manually hung wooden storms or screens in autumn and took them down in spring. These traditional assemblies forgave mistakes because people did not caulk them shut or use airtight gaskets. Natural gaps let air flow freely, which kept moisture from building up.
During the mid-twentieth century, factories introduced aluminum triple-track storm windows. This shifted the market toward permanent, low-maintenance exterior units. While these systems cut air leaks and kept homes warmer, they created new problems. Aluminum conducts heat much faster than wood or vinyl. This high thermal conductivity leads to rapid heat loss and heavy condensation. Furthermore, early installation methods relied heavily on oil-based putties and non-porous sealants. These trapped water against historic wood frames and brick molds.
Later, the energy crises of the 1970s and updated building codes pushed the industry to prioritize airtightness. Sadly, field training often lagged behind these new standards. Installers applied modern weatherstripping and heavy sealants to older buildings without checking if the original materials could handle trapped vapor. Pairing high-conductivity metal frames and waterproof sealants with moisture-sensitive historic materials set the stage for the structural damage seen in modern retrofits.
Conceptual Frameworks and Mental Models
The Hygrothermal Gradient Model
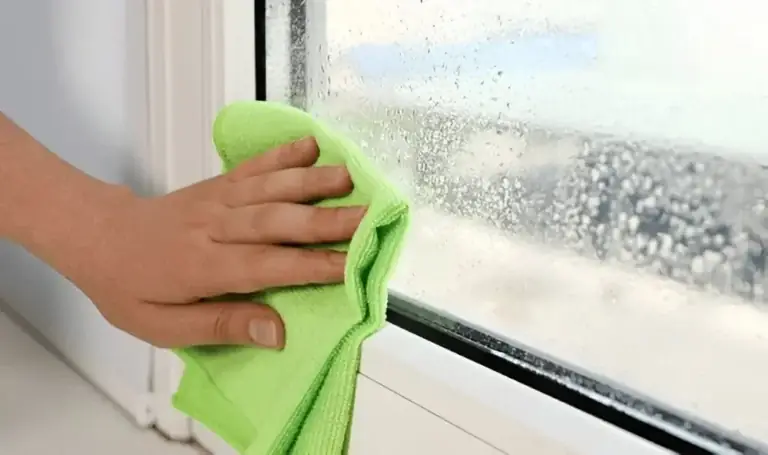
This mental model tracks how temperature and relative humidity interact across multi-pane windows. Adding a storm window creates a small gap between the primary and secondary glass. If warm indoor air leaks into this gap and hits a cold surface, it reaches its dew point and turns into liquid water. Installers must check the vapor permeability of both glass layers to ensure the assembly dries out instead of collecting moisture.
The Drainage Plane Hierarchy
Building science teaches that water management follows four steps: shed, deflect, drain, and dry. Storm window frames must connect to the exterior wall so that any water hitting the outer face gets caught and pushed outward past the sill. Treating a storm window like an isolated barrier without tying its sill flashing into the wall violates this core rule.
Dimensional Hysteresis and Thermal Bridging
Materials expand and contract at different speeds when temperatures change. Aluminum frames expand a lot under direct sunlight, while surrounding wood or brick stays stable. If you bolt an aluminum storm window down too rigidly, thermal movement will buckle the frame, shear off screws, and tear sealants apart.
Key Categories or Variations
| Category / Type | Primary Function | Common Installation Vulnerability | Trade-Offs / Limitations |
| Exterior Triple-Track Aluminum | All-season ventilation and weather protection | Blocking bottom weep holes with heavy sealant bead | High durability; high thermal bridging and condensation risk. |
| Wood-Framed Historic Storms | Aesthetic preservation for historic structures | Improper scribing to uneven historic masonry/wood sills | Superior historic match; vulnerable to rot if unvented. |
| Rigid Acrylic Interior Panels | Thermal retention without altering exterior facade | Inadequate perimeter tape seal allowing interior vapor drive | Excellent thermal performance; limits seasonal operational access. |
| Low-E Glass Storm Inserts | Enhanced solar heat gain or retention control | Incorrect orientation of the Low-E pyrolitic or sputtered coating surface | Higher cost; precise orientation required for optimal performance. |
| Magnetic Seal Interior Storms | Removable retrofit for multi-family or rental units | Misalignment of magnetic receiver strips causing air gaps | Easy removal; structural rigidity depends on perimeter magnetic strength. |
| Fixed Picture Storm Windows | Maximum airtightness for non-operable primary windows | Omitting pressure-relief venting leading to thermal glass breakage | Zero maintenance; eliminates seasonal natural ventilation capability. |
Detailed Real-World Scenarios
A : Retrofitting Historic Double-Hung Windows in a Masonry Opening
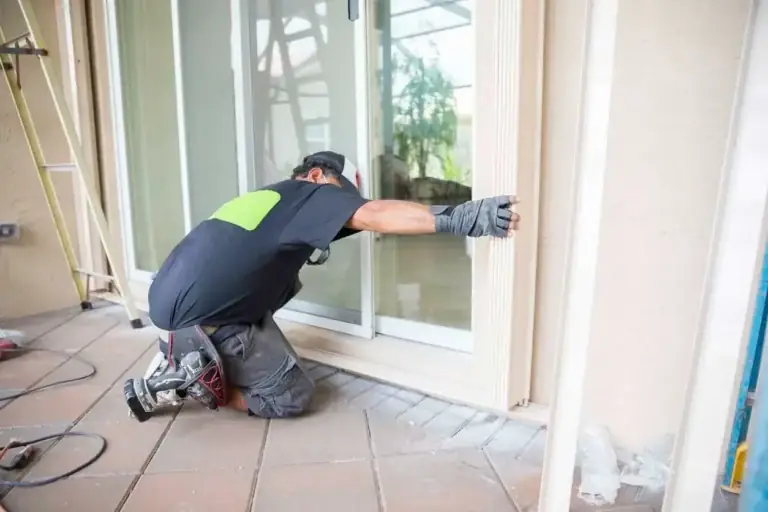
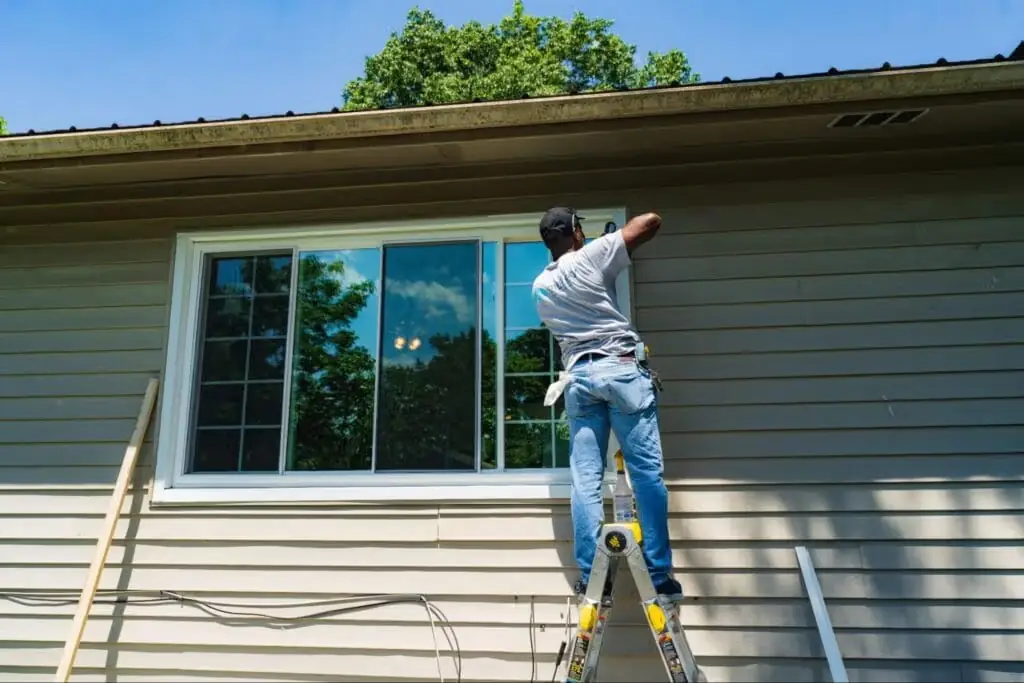
An installer mounts an exterior aluminum storm window directly onto the uneven brick mold of an old brick-veneer house. The installer fails to plumb the frame, drives mounting screws unevenly, and bends the aluminum side channels. To make matters worse, they run a thick bead of caulk across the bottom sill flange, sealing the weep slots shut.
-
Failure Mode: Wind-driven rain enters the top and side joints, flows downward, and pools inside the blocked sill channel. Because it cannot escape, the water seeps inward through gaps in the wood frame, rotting the structural sill within three seasons.
-
Second-Order Effect: Rot spreads from the window sill into the main wall studs, forcing expensive framing repairs and masonry work.
B : Installing Interior Acrylic Panels in a High-Humidity Climate
A homeowner installs magnetic acrylic panels over single-pane windows in a humid coastal house to save energy. They stick the perimeter magnetic tape to a cold, unpainted wood frame without cleaning the surface, and they skip adding a proper edge seal.
-
Failure Mode: Warm, humid indoor air slips past the loose magnetic seal, enters the gap between the acrylic and the primary glass, and condenses on the cold primary pane. With no way to drain or dry out, mold grows rapidly across the wood sash.
-
Second-Order Effect: Mold ruins indoor air quality, triggers occupant allergies, and permanently stains the window sashes.
C : Sizing Errors on Out-of-Square Window Openings
An installation crew measures only the width and height of an old wood window at the center, ignoring diagonal measurements. The opening is out-of-square by nearly half an inch. The crew forces the custom-ordered storm window into the rough opening by cranking down the mounting screws.
-
Failure Mode: The rigid metal frame twists, jamming the sashes so they cannot open or close. This physical distortion also pulls the corner miters apart, creating tiny air gaps.
-
Second-Order Effect: Air leaks bypass the weatherstripping entirely. This wastes money on energy savings and strains the window latches.
D : Omitting Weep Hole Clearances on Exterior Sliding Storms
An exterior sliding glass storm window is installed with its sill resting flat against a stone windowsill without spacers. The weight of the window presses the frame down against the stone, crushing the integrated weep holes flat against the masonry.
-
Failure Mode: Condensation and rainwater collect in the bottom track with nowhere to go. The water level rises until it spills over the interior track edge right onto the drywall and windowsill.
-
Second-Order Effect: Paint blisters, drywall softens, and water stains the interior finishes below the window.
Planning, Cost, and Resource Dynamics
Retrofitting storm windows requires balancing material costs against labor and long-term maintenance. Treating an installation as a quick hardware purchase usually causes budget overruns when structural repairs pop up.
Cost and Resource Breakdown
-
Direct Material Costs: Standard aluminum triple-track units range from budget-friendly options to premium custom wood or Low-E glass variants. Acrylic interior panels sit in the mid-to-high price tier based on clarity and hardware.
-
Preparation and Repair Costs: People often underestimate repair expenses. Fixing rotted wood, painting historic trim, and shimming crooked openings can consume half of the total project labor.
-
Opportunity Costs: Choosing cheap, unvented installations to save time often leads to early failure, requiring total replacement and structural framing repairs within a few years.
Tools, Strategies, and Support Systems
Proper execution relies on specialized measurement, fastening, and sealing equipment designed to handle structural tolerances and moisture management.
Essential Installation Equipment
-
Digital Level and Framing Square: Crucial for verifying that rough openings are plumb, level, and square before fastening.
-
Non-Compressible Plastic Shims: Essential for leveling window frames without creating point-load pressures that warp aluminum or vinyl extrusions.
-
Polyurethane or Neutral-Cure Silicone Sealants: High-grade elastomeric sealants selected for joint movement. Neutral-cure options prevent metal corrosion.
-
Metal-Cutting and Fastener Tools: Pre-drilling bits and stainless steel fasteners prevent galvanic corrosion between different metals.
-
Hygrothermal Monitoring Probes: Pinless moisture meters confirm that wood framing moisture stays below safe levels before sealing.
-
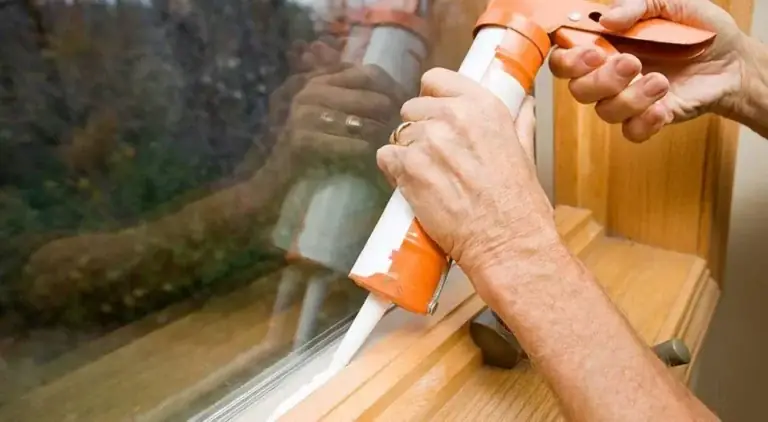
Caulk Gun with Smoothing Profile Tools: Ensures consistent exterior weather seals without blocking drainage channels.
Risk Landscape and Failure Modes
The risk landscape of storm window retrofits involves compounding interactions between moisture, thermal stress, and structural movement. A minor installation error rarely causes instant failure; instead, it starts a slow cycle of degradation.
Compounding risks happen when an exterior storm window is sealed continuously across the head, jambs, and sill. This blocks pressure equalization, meaning wind can force rainwater past the seals. Furthermore, failing to account for thermal expansion in long aluminum extrusions leads to fastener fatigue, creating loose joints that let water flood the wall cavity.
Governance, Maintenance, and Long-Term Adaptation
Long-term performance relies on scheduled maintenance and regular inspections. Unlike permanent walls, storm windows feature moving parts—latches, tracks, hinges, and weatherstripping—that degrade under weather exposure.
Maintenance and Inspection Protocol
-
Semi-Annual Inspection Cycles: Check windows in spring and autumn to ensure weep holes remain clear of debris, insect nests, and paint.
-
Weatherstripping Integrity Checks: Inspect wool pile, vinyl bulbs, and silicone gaskets yearly for compression damage, hardening, or tears that let air pass.
-
Drainage Clearing: Flush exterior tracks and sill channels with low-pressure water annually to clear sediment and dirt.
-
Fastener Torque Review: Check mounting screws periodically to ensure temperature changes have not vibrated screws loose or stripped anchor points.
Measurement, Tracking, and Evaluation
Evaluating a storm window installation combines data tracking with physical observations across seasonal extremes.
Key Performance Indicators (KPIs)
-
Quantitative Thermal Performance: Use thermal cameras during winter to verify that interior frame and glass temperatures stay warm, proving that thermal bridging and air leaks dropped.
-
Moisture Content Tracking: Monitor wood framing moisture with pin meters in test locations. Readings over 20% point to a serious drainage or vapor failure.
-
Qualitative Air Infiltration Audits: Run smoke-pen tests along joints during windy days to spot micro-drafts caused by warped frames or bad gaskets.
-
Operational Smoothness: Test sash operating force to ensure seasonal building movement has not bound the tracks or strained locks.
Common Misconceptions and Oversimplifications
-
Myth: Sealer should be applied continuously around all four sides of an exterior storm window to maximize energy savings.
-
Correction: Sealing the bottom sill edge blocks essential weep holes, trapping water and causing rapid wood rot. Only seal the head and upper jambs, leaving the sill open for drainage.
-
-
Myth: Interior storm windows require no edge sealing because they are inside the conditioned space.
-
Correction: Interior storms must form a tight vapor seal on the warm side to stop indoor moisture from reaching the cold primary glass and condensing.
-
-
Myth: All metal storm windows are identical and can be installed using standard wood screws without pre-drilling.
-
Correction: Failing to pre-drill aluminum frames or using incompatible steel screws causes frame distortion and galvanic corrosion.
-
-
Myth: Out-of-square openings can be forced square simply by tightening the mounting screws firmly.
-
Correction: Forcing rigid metal frames into crooked openings jams sashes and breaks corner miters, creating air leaks.
-
-
Myth: Storm windows eliminate the need for primary window maintenance.
-
Correction: Neglecting primary windows behind storm units traps existing moisture, speeding up hidden rot.
-
-
Myth: Low-E coatings on storm glass perform identically regardless of which side faces outward.
-
Correction: Low-E coatings must face the correct direction per manufacturer instructions—usually toward the airspace—to reflect radiant heat properly.
-
Ethical, Practical, and Contextual Considerations
Historic preservation projects bring ethical obligations regarding material authenticity and reversibility. Altering or damaging historic wood profiles, blind stops, or exterior moldings to fit standard aluminum extrusions violates conservation rules. Installers working on historic buildings must use custom wood storm windows or slim interior panels. These options protect architectural proportions without making permanent, damaging physical changes.
Conclusion
Successfully integrating secondary glazing requires careful attention to building physics, material compatibility, and micro-detailing. Avoiding common storm window installation mistakes requires shifting from quick fixes to comprehensive moisture management. By respecting moisture paths, accommodating thermal movement, maintaining drainage planes, and executing precise mechanical mounting, building operators ensure retrofits deliver long-term thermal efficiency, structural durability, and envelope resilience.